Before we get to the installation of PNETLab here is a short description on what is VMWare Workstation and PNETLab
What is VMware Workstation
VMware Workstation is a software application that allows users to run multiple operating systems on a single computer. It creates virtual machines (VMs) that can run different operating systems such as Windows, Linux, macOS, and more. These virtual machines are isolated from the host operating system, allowing users to simultaneously run and test different software applications, perform software development and testing, and explore different operating systems without the need for separate physical machines. VMware Workstation also provides features like snapshots, which allow users to save the state of a virtual machine at a specific point in time and revert back to it if needed.
What is PNETLab
PNETLab, also known as Packet Network Emulator Tool Lab, is a virtual network environment created by a community called PNETLab. It is designed to provide users with a platform to practice and emulate various networking scenarios from different vendors. PNETLab allows users to create and configure virtual network devices, such as routers, switches, firewalls, and servers, within a virtualized environment. Users can then connect these devices together and configure their settings to replicate real-world networking scenarios. The platform offers a wide range of features, including the ability to create complex network topologies, simulate network protocols, perform network troubleshooting, and practice network configuration tasks. It provides a hands-on learning experience for individuals studying for networking certifications or wanting to gain practical networking skills. PNETLab aims to provide a cost-effective and convenient solution for networking enthusiasts and professionals to practice and experiment with different networking technologies without the need for physical networking equipment.
The first step is to download the PNETLab OVA file from there official website Download or direct download Google LINK1, Google LINK2 & Mega LINK3
Once the download is completed open the VMware Workstation and import the ova in it, you can import the ova by just drag and drop in the VMware Workstation or by going to File->Open as you can se in below Picture and browse the location to select the ova. Once you click on the Open button (4) it will bring up the Import Virtual Machine Wizard where you have to specify the VM name and the storage patch for the PNETLab (my advice to store the vm machine on any drive except c drive)
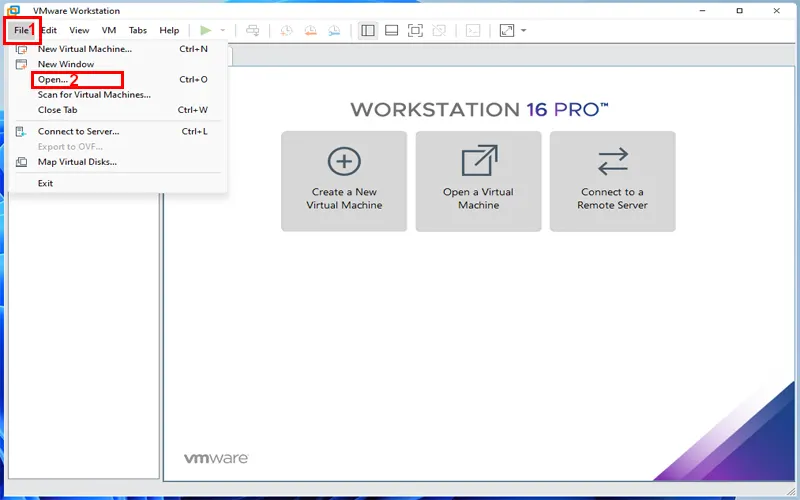
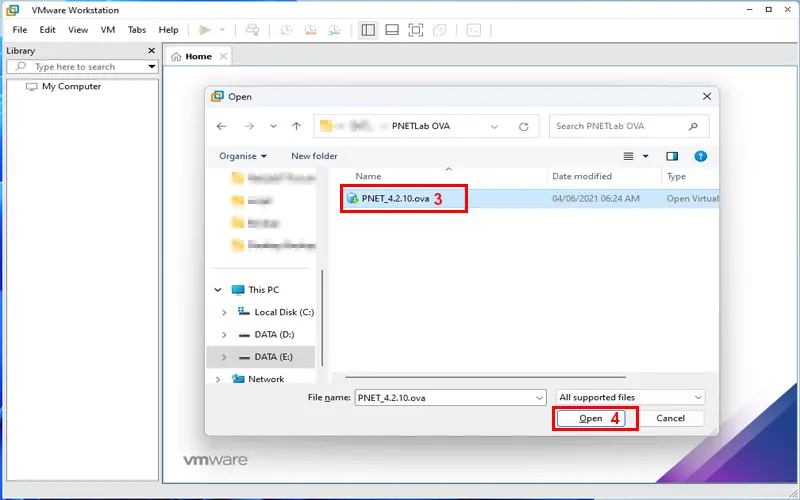

Importing PNETLab OVA will take a while depending on your PC/Desktop/Laptop resources, after successfully import there a few changes need to be done
- Allocate proper RAM to PNETLab VM (Minimum 8 GB vRAM)
- Allocate proper Processor to PNETLab VM (Minimum 4 vCPU)
- Use NAT Adapter for PNETLab VM (Recommended)
- Enable virtualization Else QEMU/KVM Images will not work (Most Important)
Once Import if done you will get the below screen where you can modify certain parameters by clicking on Edit Virtual machine settings


After completion of the PNETLab VM setting it time to fire up the PNETLab by clicking on Power on this virtual machine, Once its booted it will ask to enter the username and password which is root/pnet by default after you entered the default credentials it will take you to PNETLab Initial Setup Wizard, it will take you through few steps as shown in the below picture
- Change Root Password (Just press enter to continue with default password else enter your password)
- Repeat Root Password (If you entered the password in First step then use the same password in step 2)
- Change DNS (Leave it default press enter)
- Set static or dhcp (Press enter to use dhcp ip address), will cover how to modify the ip address in detail in some other blog
- Change DNS Domain Name (Press enter to use default)
- Proxy Server Configuration (Press enter to use default)

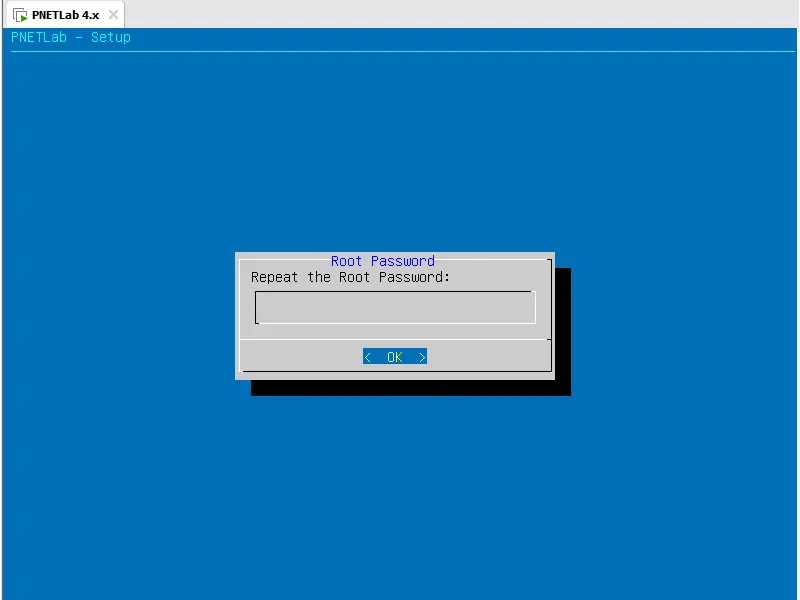
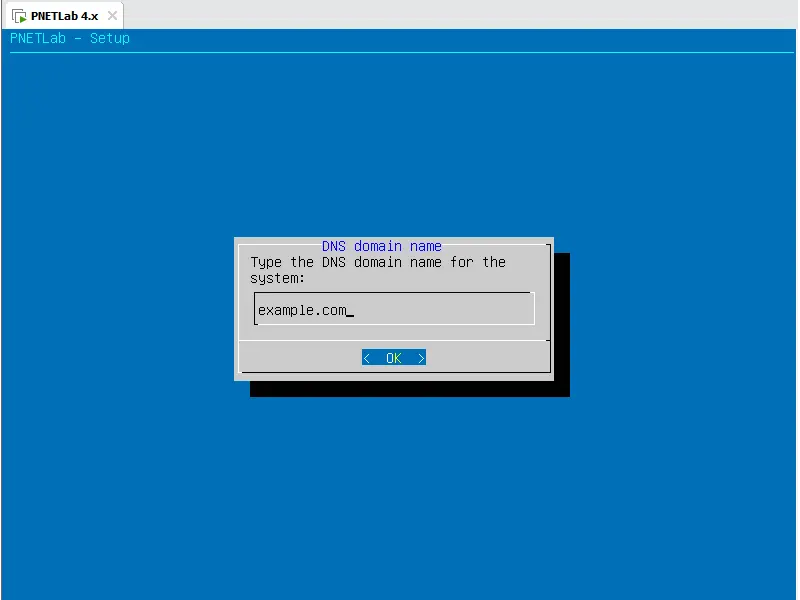
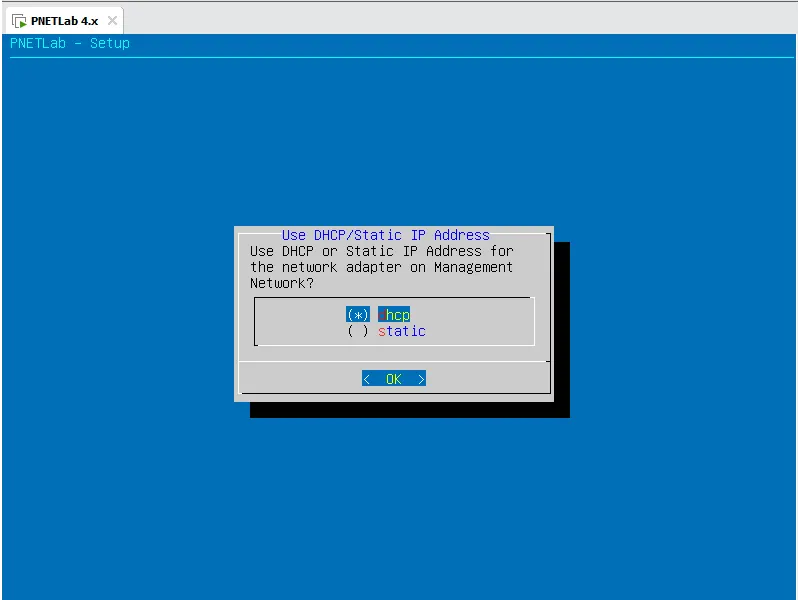


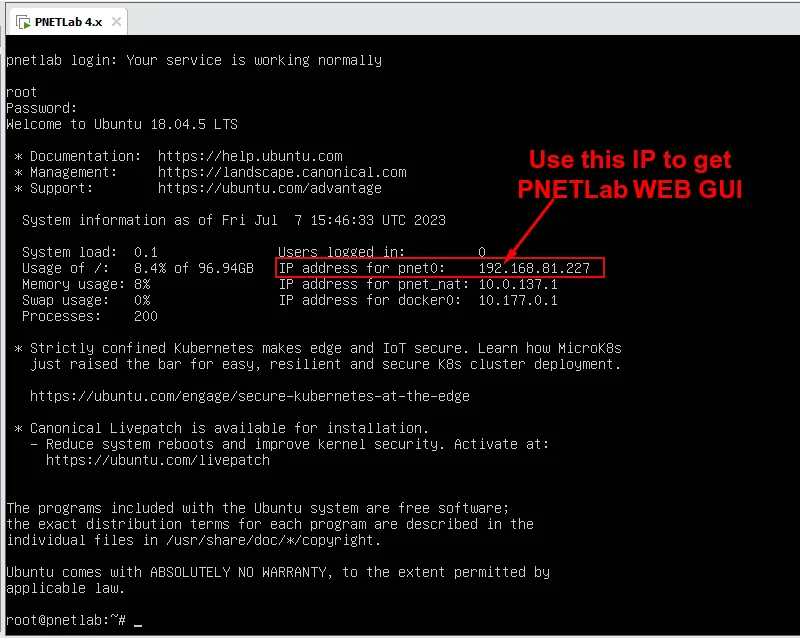
After completing the PNETLab setup wizard the VM will reboot and prompt for the username and password once you enter the credentials it will show the IP Address use that IP Address to Login to PNETLab Web GUI, use any browser (Recommended Browser is Google Chrome & Mozilla Firefox),

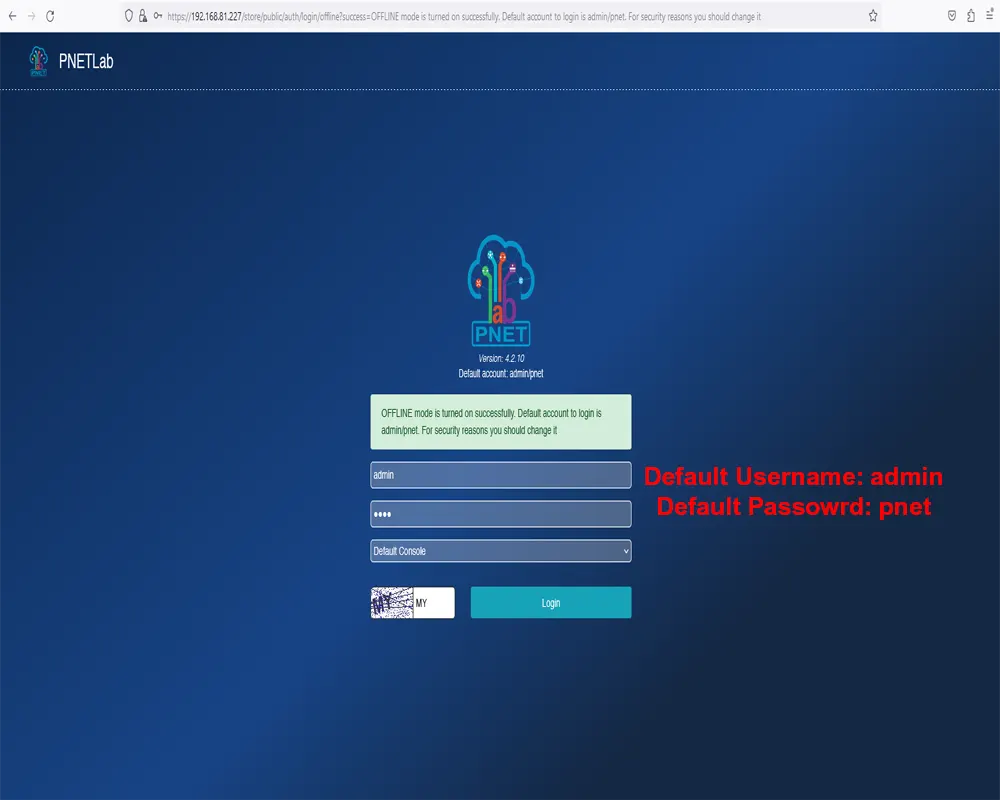
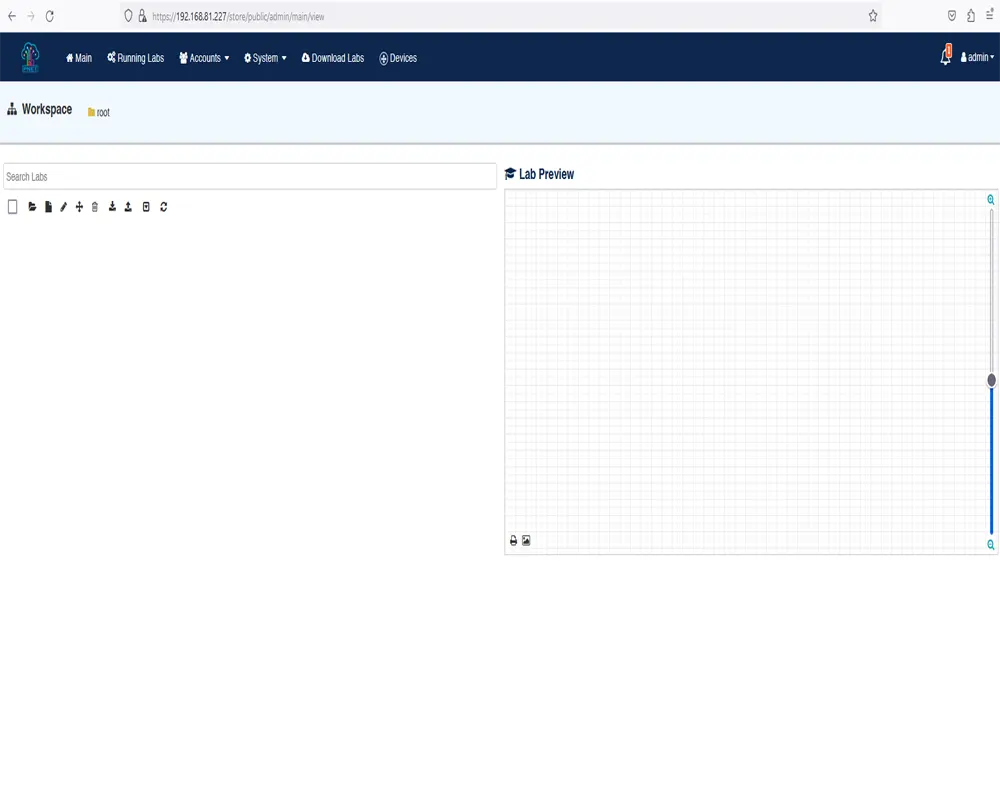
That’s all you have successfully deployed PNETLab, Now Create the lab and Enjoy


